Tag: LED Clock

  • Clock Part 3

    Clock Part 3

    I finally finished the outer case of my clock. Only 19 layers of 3mm acrylic stacked on top of each other.

    IMG_5445
    Laser cutting the rear panel and finger slot
    red perspex box with clock electronics showing, rear lid off
    Rear panel with finger slot and barrel jack holder
    rear panel of clock with wire going into the finger slot
    Barrel Jack inside the finger slot

    I built a finger slot into the back of the clock so it’s easier to carry, but also to house the barrel jack for mounting the clock flush to the wall, allowong me to hide the power cord in the wall (oneday)

    pile of acrylic sheets neetly lined up
    This is the pile of acrylic I had to cut out of the inside of the clock.

    That pile on the left was cut out to make the cavity in the case.

  • Clock Part 2

    Previously…
    A bit more progress on my clock. I installed the dirty pink gel filter to increase the contrast ratio of the 7 segment displays, and started cutting the final case out of red 101 acrylic. Lots of laminations.

    a digital clock showing the time of 11:22
    Clock

    side of digital clock showing laminations of the case and the inner electronics and wires
    Side of clock


  • Howto quickly find your Beaglebone Black’s IP address

    Howto quickly find your Beaglebone Black’s IP address

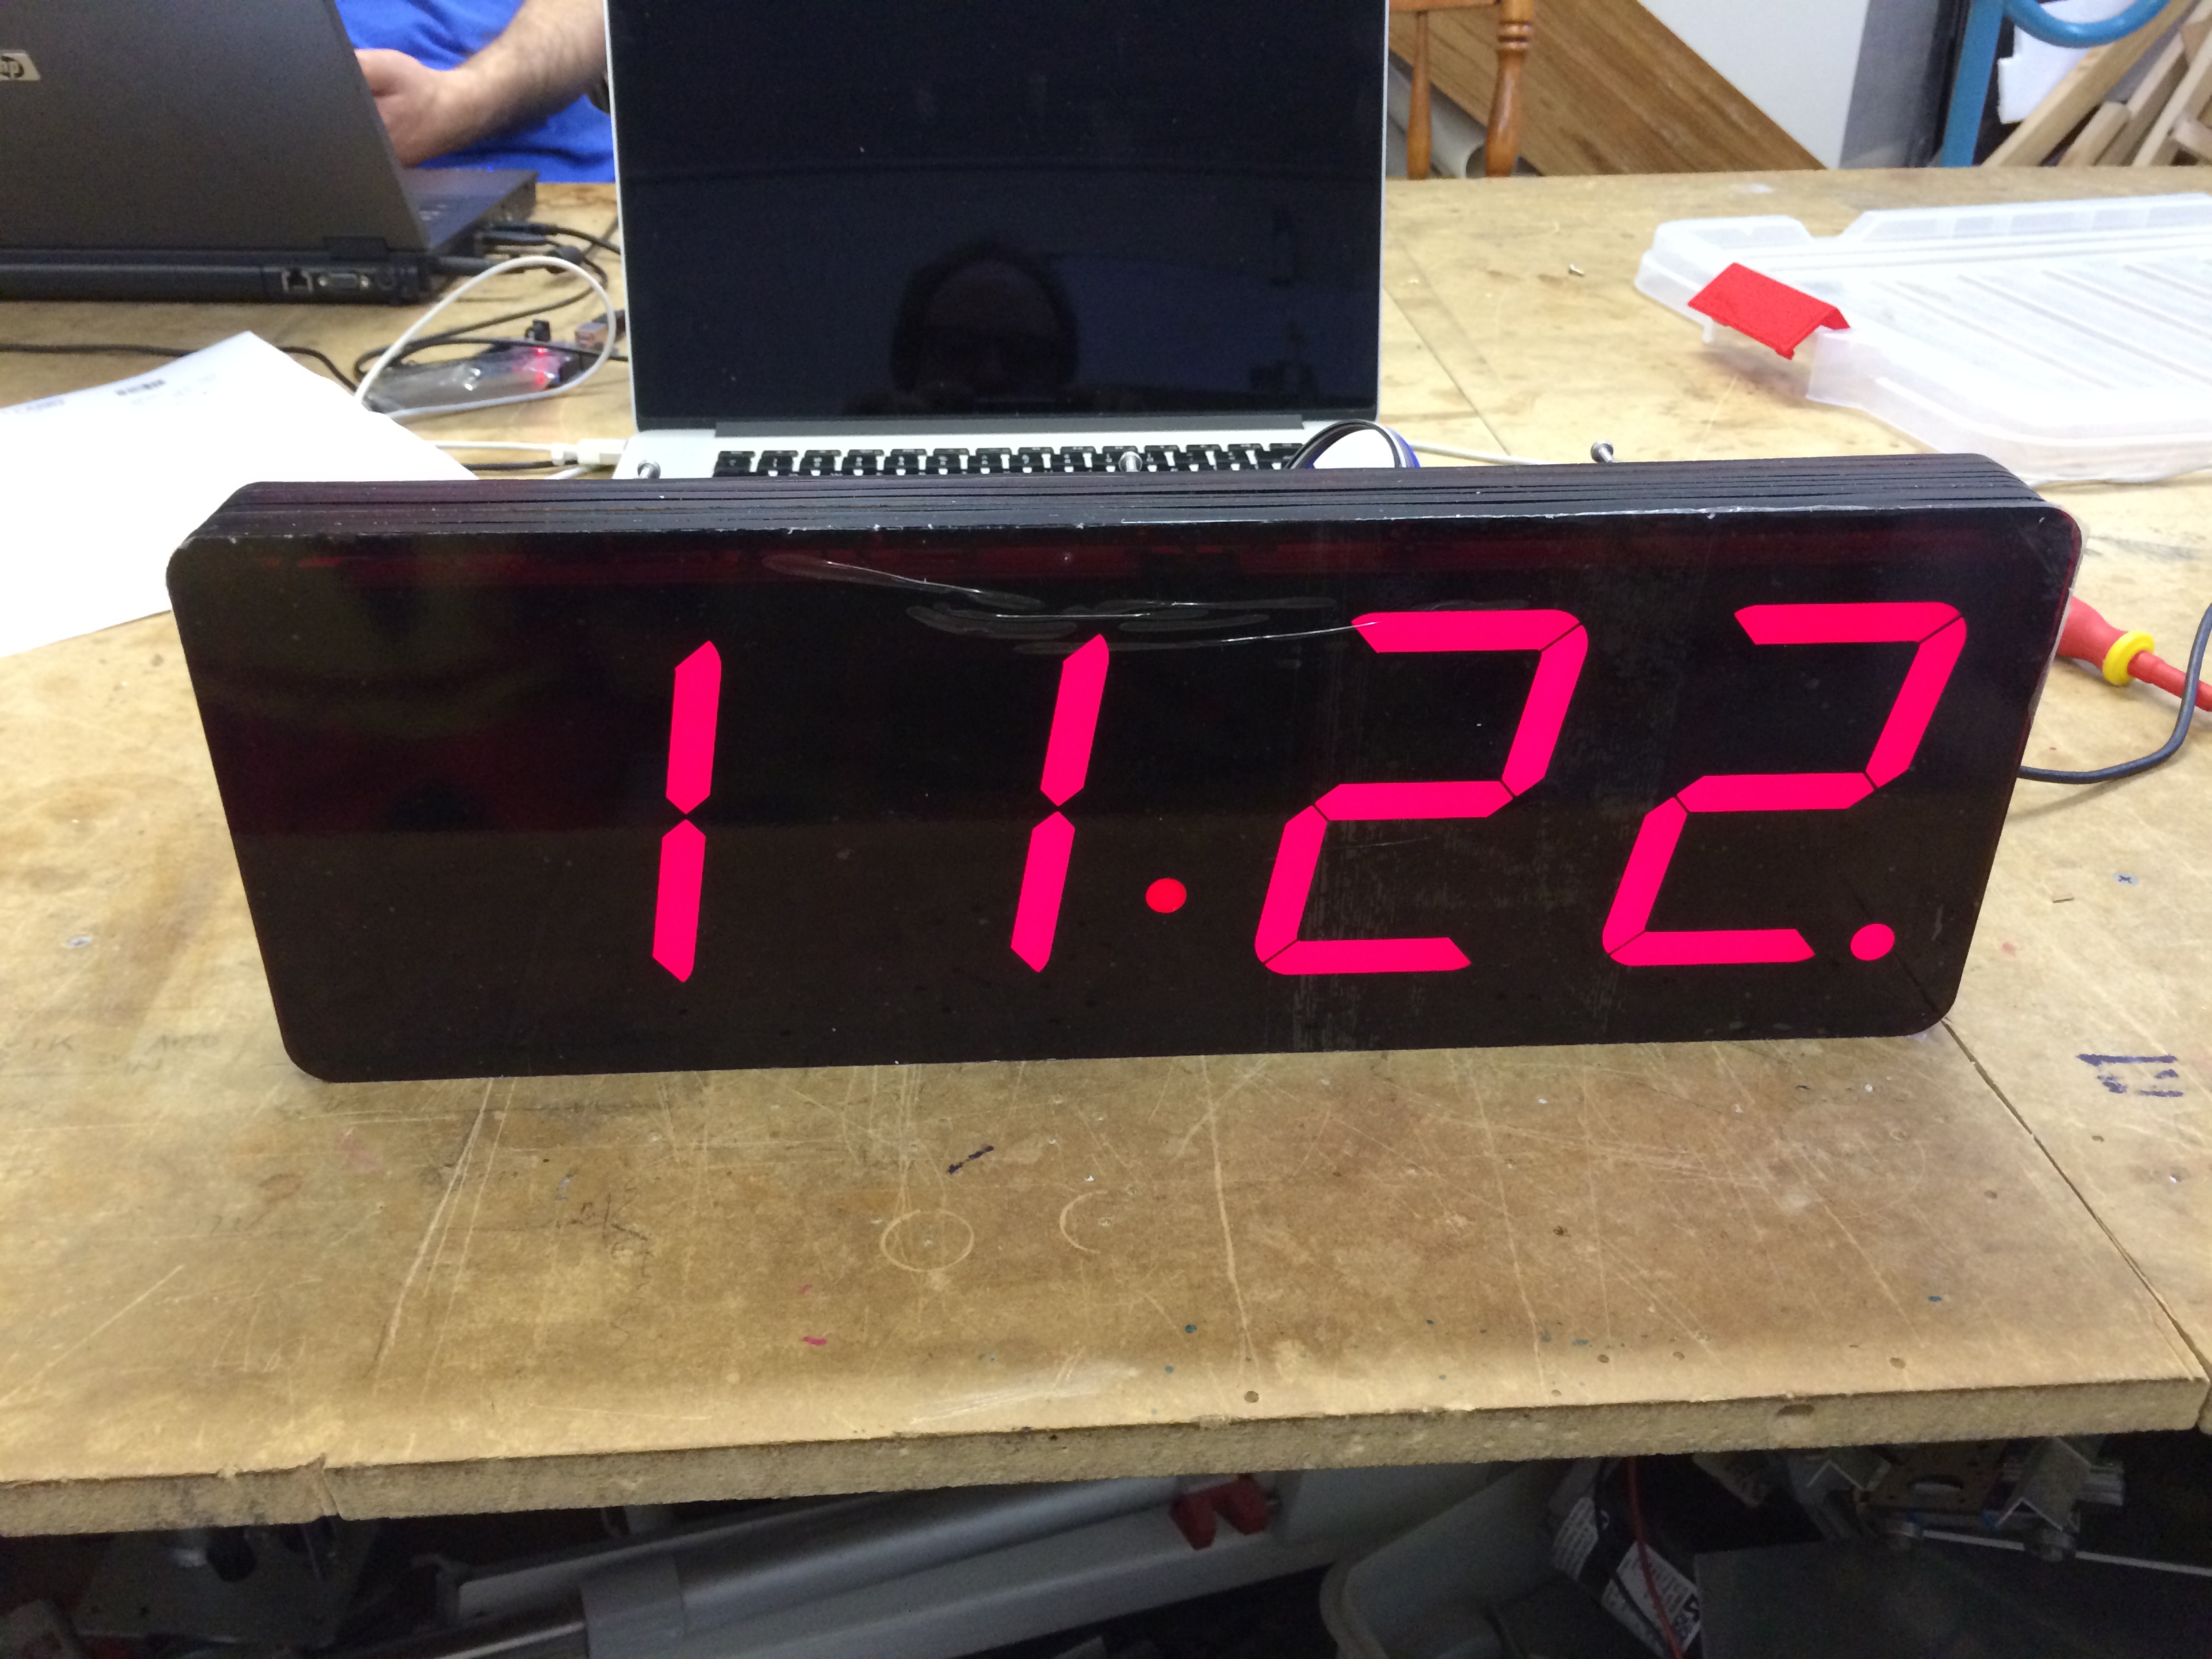
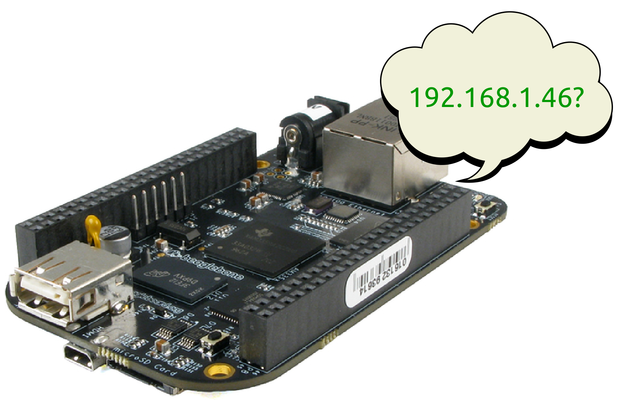
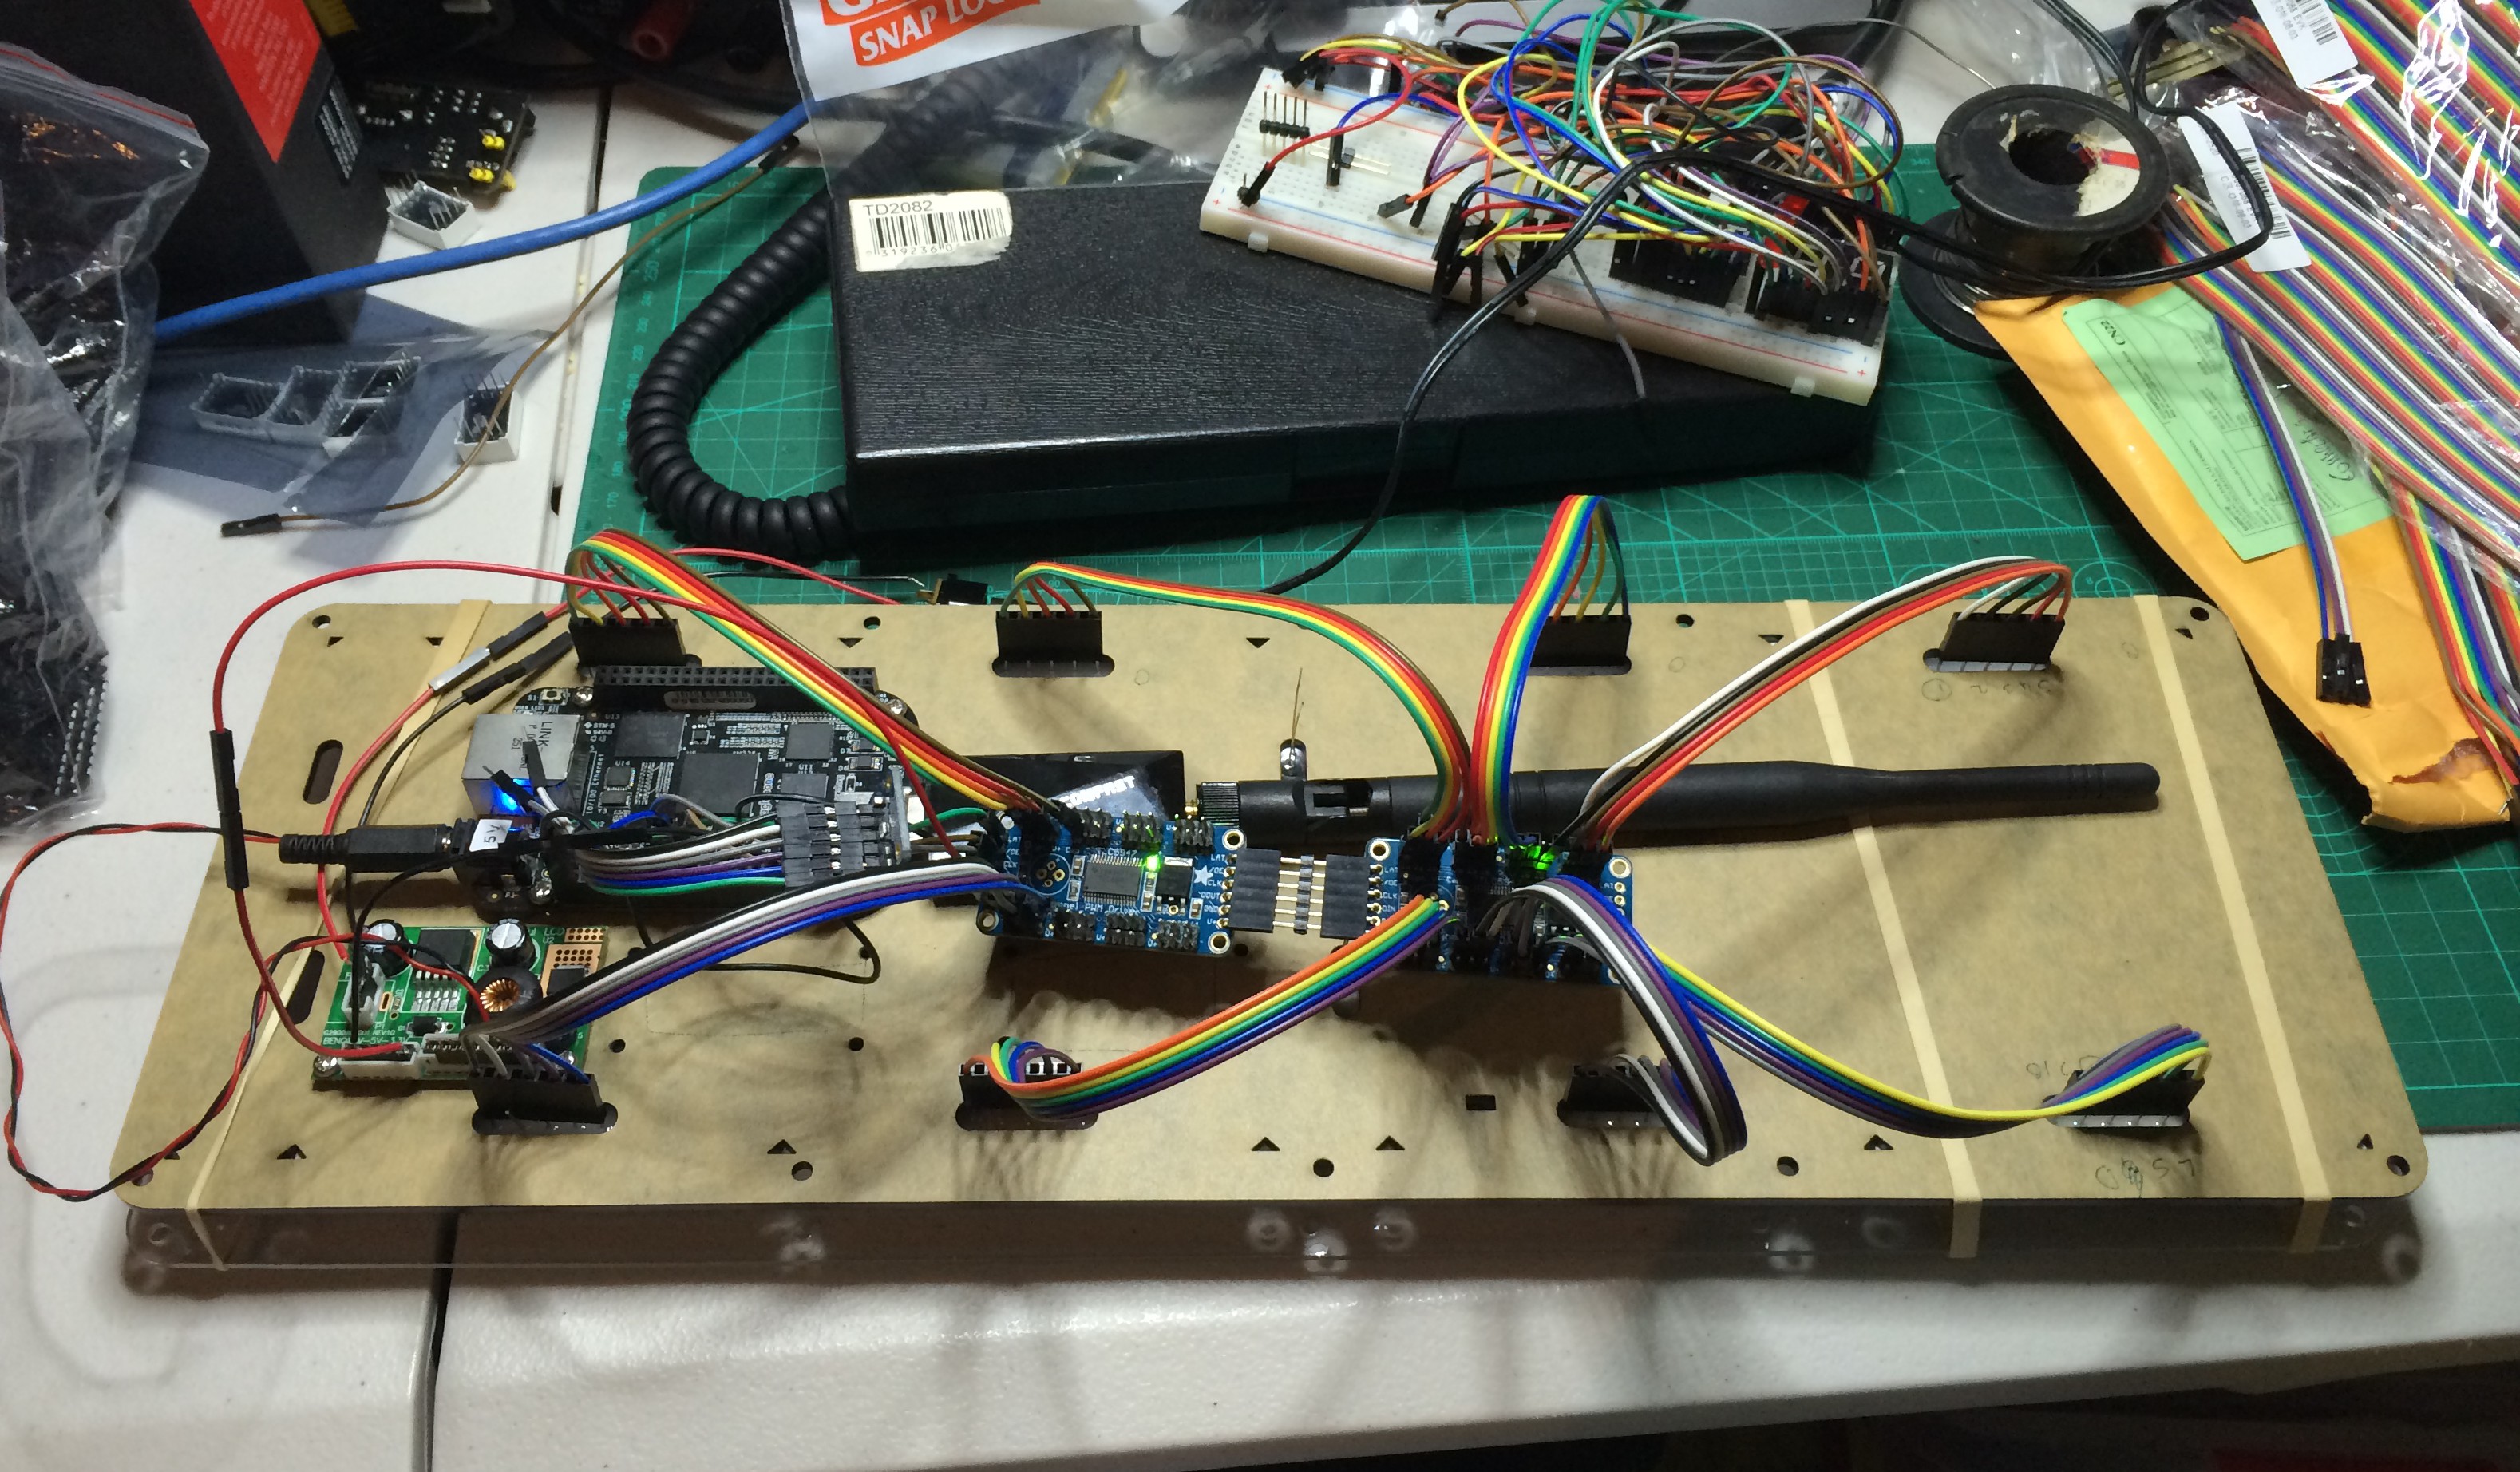
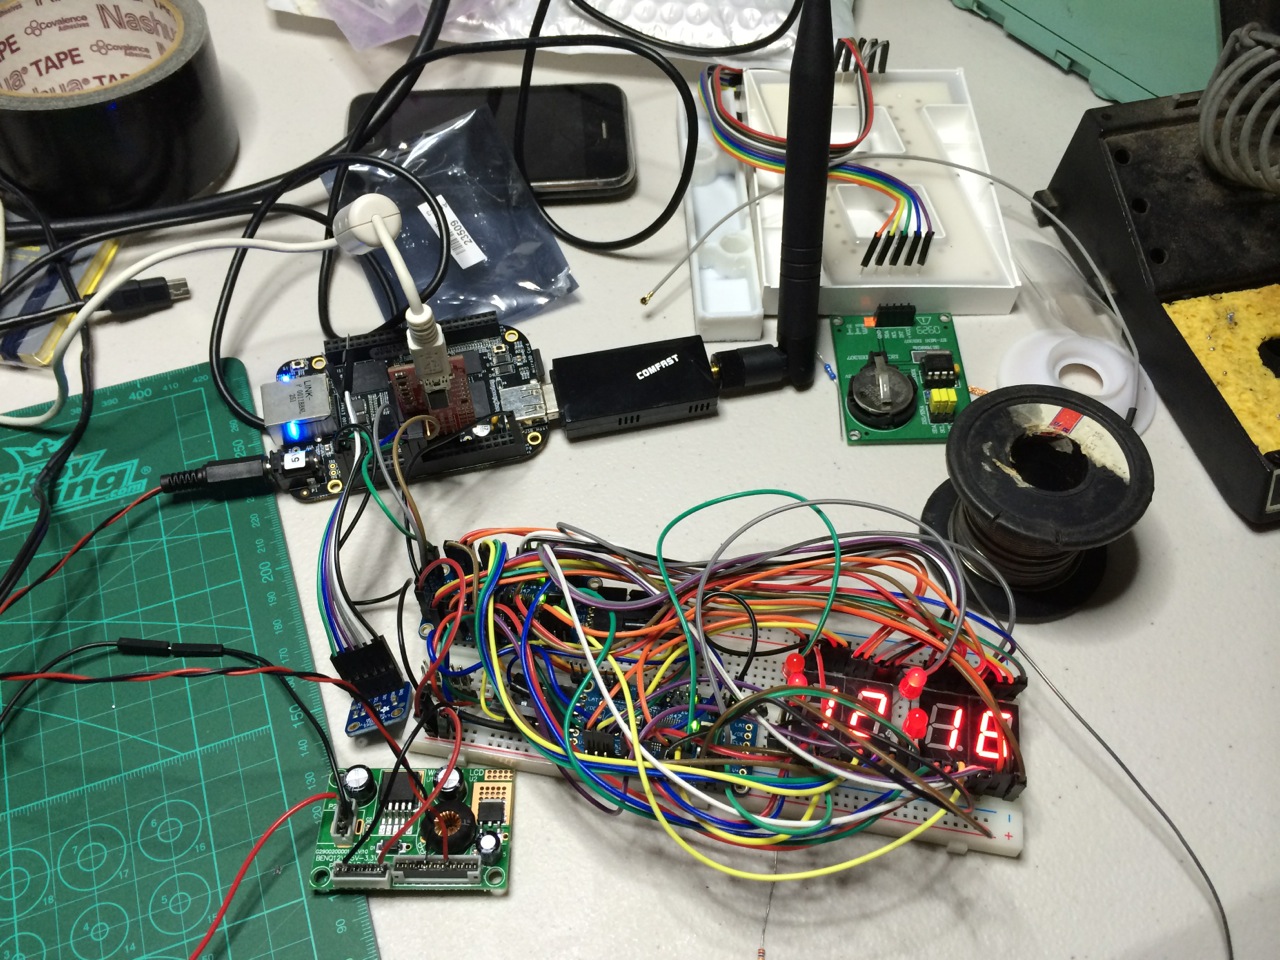
    Whenever I connect my Beaglebone Black (BBB) to a network, I have to work out it’s IP address so I can ssh into it. This can be tricky. Some of your options are:

    1. connect to the serial terminal, or connect over the usb network interface which gives the BBB the address 192.168.7.2, log in and issue the command ip addr.
    2. use nmap to try and search out its IP address on your subnet but this is time consuming and not very accurate I have found.
    3. use avahi-browse -rat (thanks Madox for that tip.)

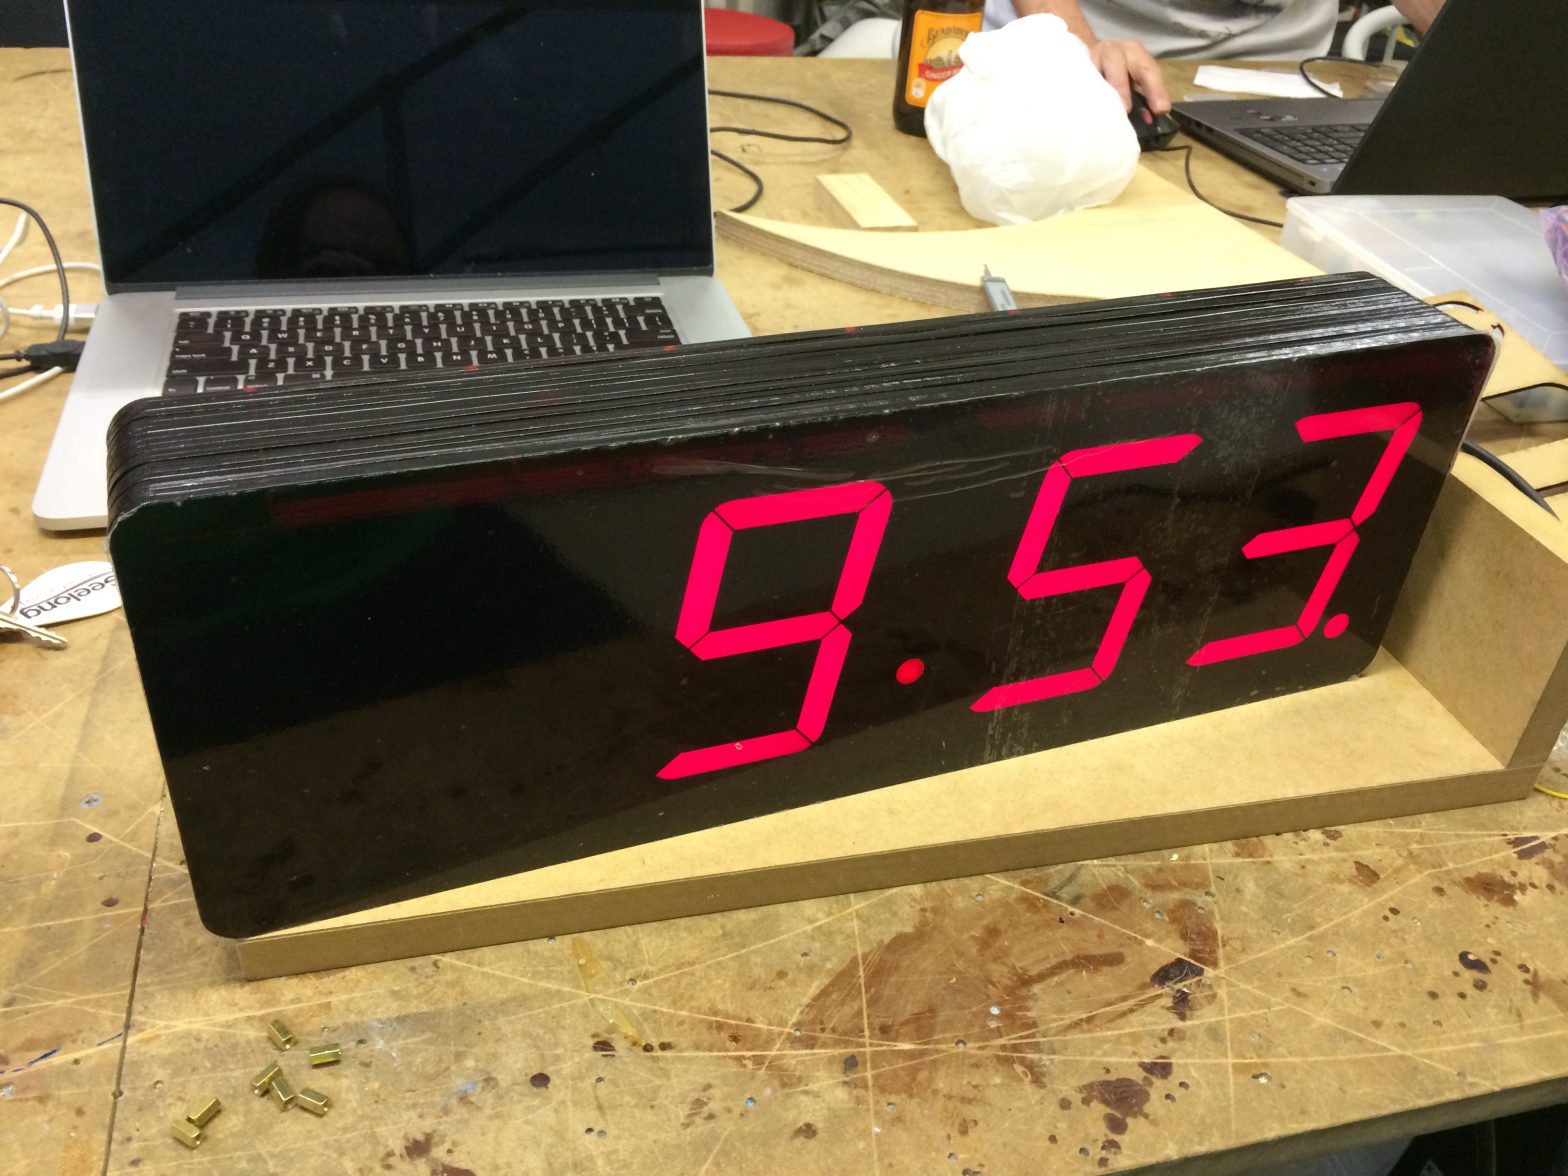
    Last night I came up with a Better Way™. Rather than trying to determine the BBB’s address, why not use a fully qualified domain name and a dynamic dns service? I could then just type ssh myfqdn.com or whatever and log in. Think how that would simplify one’s life!
    To implement this, set up a dynamic DNS somewhere with a FQDN for your BBB. If you happen to have your own domain name already you can use a sub-domain from that. I think its fairly common for DNS hosts to offer an API to update your IP address. I happen to use Rimu Hosting and they have their own simple web api.
    Then you just need to write a little script to update the IP address every time the DHCP client receives a new IP address, and drop it into /etc/dhcp/dhclient-exit-hooks.d/
    Here is my script. This will only work with Rimu Hosting as they have their own privately developed API, and you’d need to insert your own KEY into the script.

    #!/bin/bash
    # update ip address with rimu hosting. See https://rimuhosting.com/dns/dyndns.jsp
    if [[ ! -z ${new_ip_address} ]]
    then
       echo $(date +"%F %T") ${new_ip_address} >> /root/ddns.txt
       curl "https://rimuhosting.com/dns/dyndns.jsp?action=SET&name=clock.emacstragic.net&value=${new_ip_address}&type=A&api_key=XXX"
    else
        echo "got no ip"
    fi
    

    Update:

    I discovered this didn’t work at home. Turns out that dnsmasq in OpenWRT is set to ignore this kind of dns request, due to potential security risks. There is a solution to that. Add a list rebind_domain line to your /etc/config/dhcp line on the router.

    config dnsmasq
    	.
    	.
    	.
    	list    rebind_domain 'clock.emacstragic.net'
    

    Thanks to Michal Čihař for the solution to that.

  • Progress on my clock

    Progress on my clock

    I finally wired up the big LEDs and made an acrylic mounting board for all the parts. I laser cut holes in the board and tapped them with an M3 tap. That allowed me to mount the circuit boards directly to the mounting board. I used Dupont connectors to wire everything up which gives a very neat finish I think.photo of rear of clock mounting place showing various circuit boards, beaglebone black and wires connecting to the LED pins

  • LED Clock Project

    LED Clock Project

    For a long time I have wanted a bedside clock that would keep accurate time via some external mechanism, and would take care of daylight savings automatically. I eventually decided that the best approach would be to use a wifi enabled device and use the NTP protocol for keeping the time accurate.
    After wasting several months hacking away on an Olimex IMX 233 that never worked reliably, I decided to change platform to the Beaglebone Black (BBB).
    Along the way I realised there were a few other features I needed:

    • LEDs should dim with the ambient light so the clock doesn’t light up the whole bedroom
    • The display needs to be big enough for me to read from across the bedroom without my glasses on.
      To make them dimmable I decided to get a pair of
      I also needed a power supply that could give 12v for the LED drivers but 5v for the BBB. I found a nice little board on ebay for a few bucks that seems to do the trick. Its called the Benq 12v-5v-3.3v
      I hooked that up tonight so now I only need the one power supply to run the LEDs and the BBB.